|
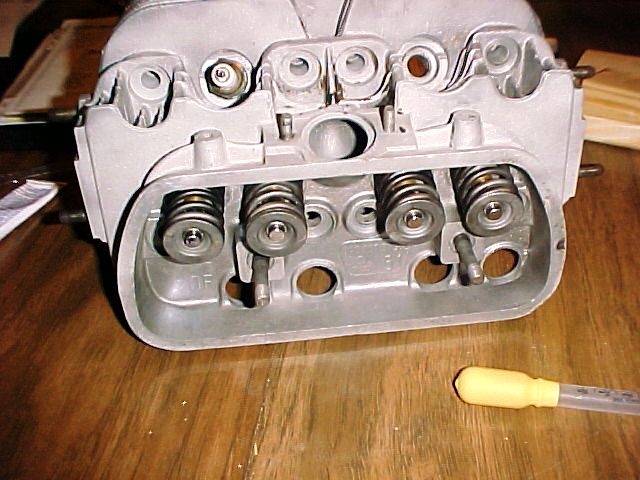
| Here is the head, fresh from the Rebuild Shop, Man that is clean! I got some pieces of wood here as well to sit the head on to make it sit level on the table. The Valve springs will keep it from sitting right on the table. |
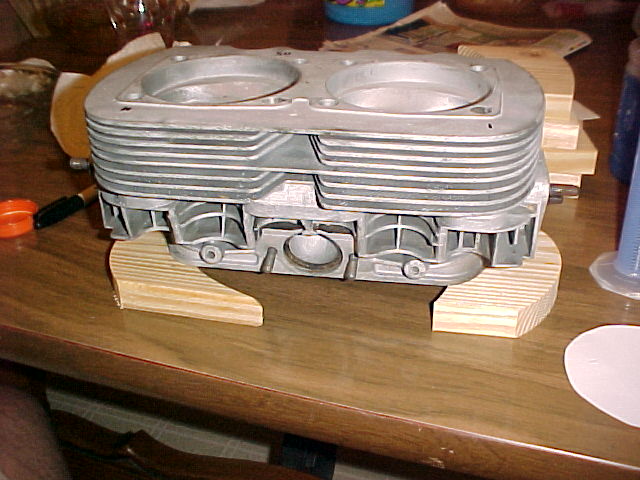 |
| With the wood pieces under each end of the head it has just enough room to sit level on the table and not touch the valve springs. I used 5/4 wood for the head to sit on. I cut curves in the ends of the wood planks so it would fit around the springs as well and more of the head would sit on the wood. |
 |
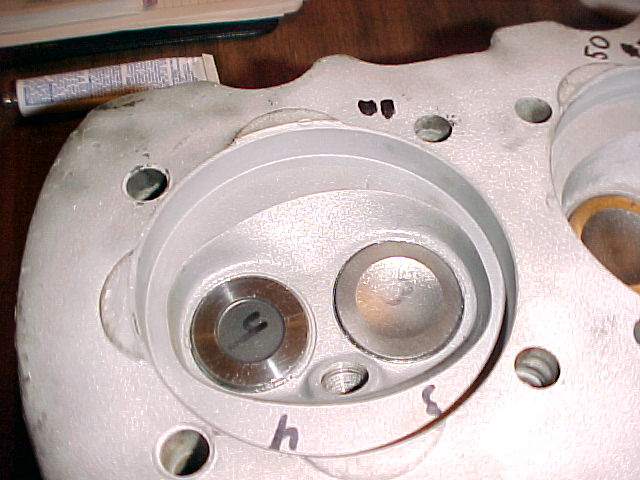
| The first thing that you need to check with your fresh valve job is if the valves leak. This is done by pouring some liquid into the valve area of the head and watch the intake and exhaust ports to see if the liquid seeps, pours or trickles out. Mine leaked pretty bad, so now I need to lap the valves. This will require removing the valve springs and keepers. |
 |
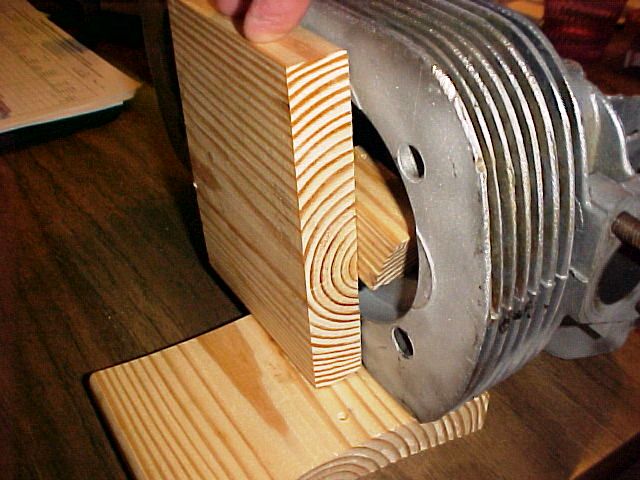 |
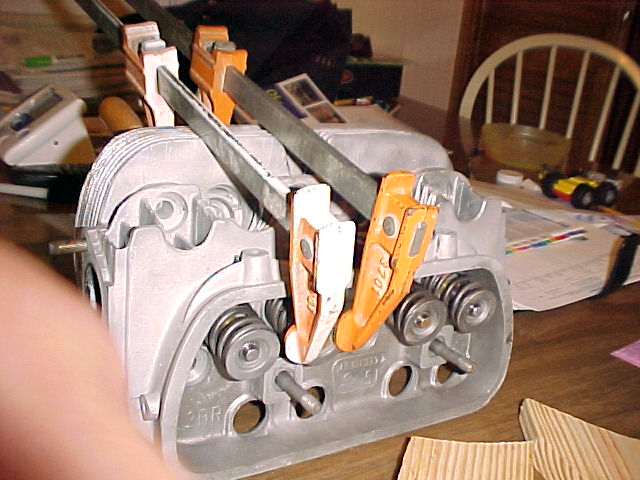
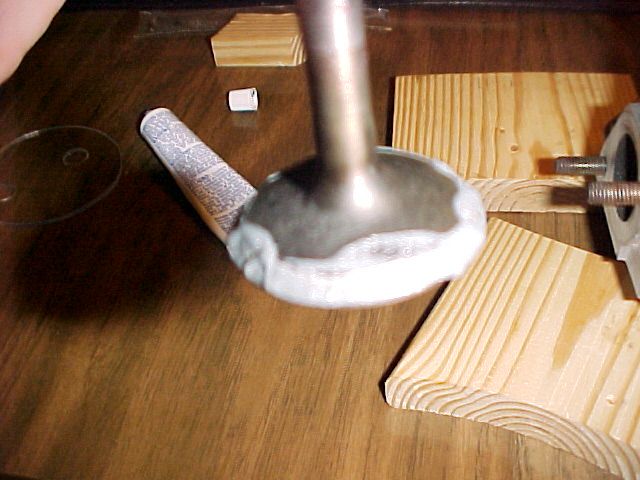
| I did not have a spring compressor and decided to use what I had to do the job. I would not advise this for the masses, but it does work. As you can see in the two pics above, I used a piece of wood small enough to fit in the valve area and another piece of wood big enough to cover the whole cylinder hole for the clamps to push on. |
 |
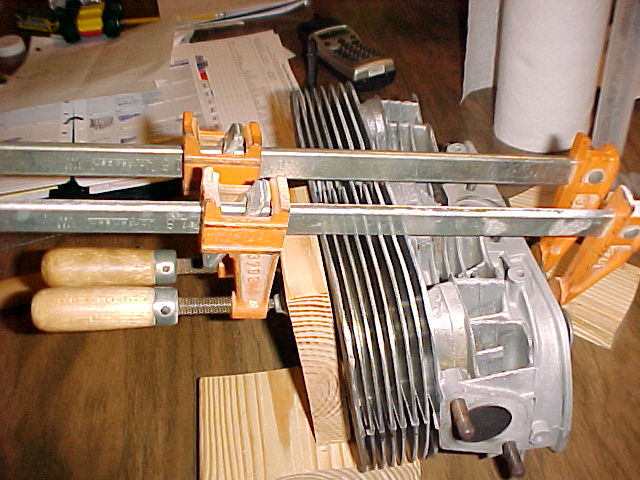 |
| This is the way I placed the clamps to compress the spring. A clamp on opposite sides of the spring keeper seat. Keep your hands on the clamps as they do want to walk off the sides and tighten each side a little and the do the other one. |
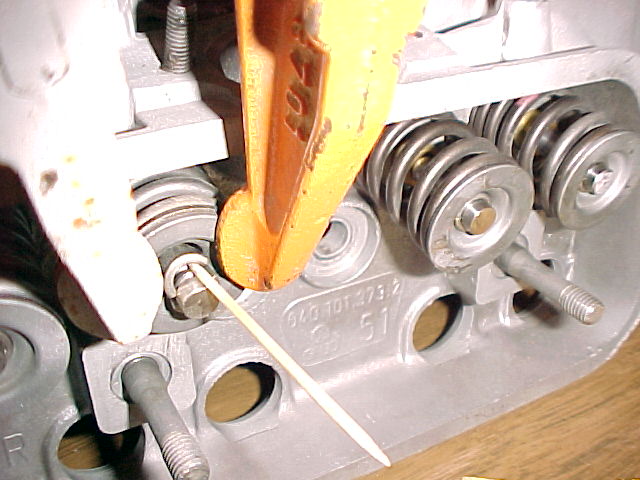 |
| Keep turning the clamps till the keepers can be lifted freely. |
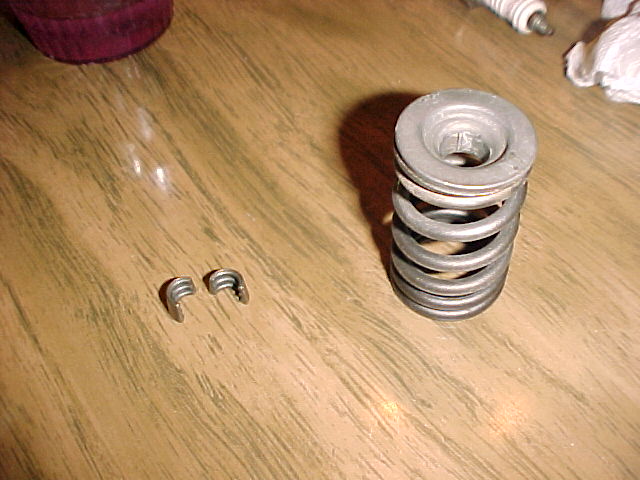 |
| Success!! One spring and the keeper set. |
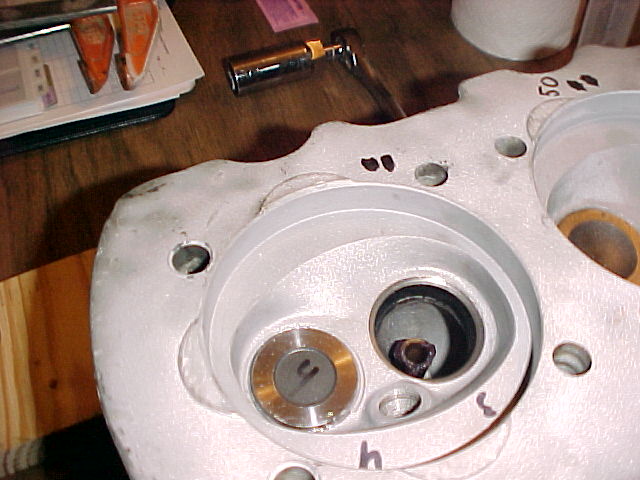 |
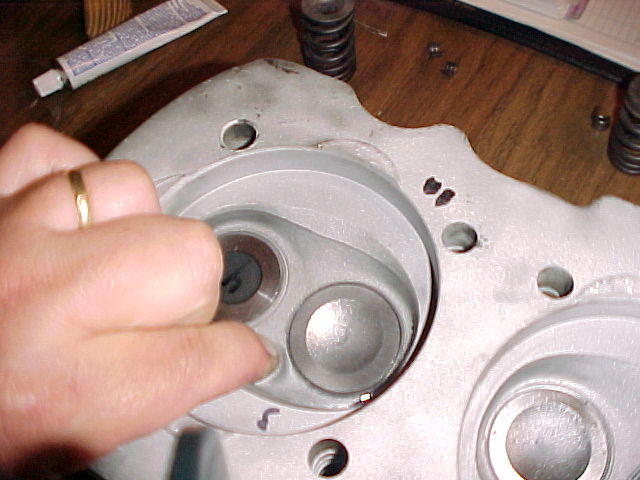
| Here you can see what lies behind the valve, a hole with a smaller hole within. LOL Your valve should move freely with just a small amount of resistance up and down in the valve guide. |
 |
| Now that the valve is out and in your hand, apply a moderate amount of lapping compound to the edges of the valve as in this picture. Sorry it is blurry, but you get the idea. |
 |
| Re-insert the valve in the correct hole, attach the hi-tech rotary device and with your hands on each side of the stick, roll it in your hands. Just like the Boy Scouts do to build a fire. Lift the valve up and rotate it a little and then back down to the seat again and continue to rotate. This keeps from making a groove in the same place and helps smooth up the surface evenly. This step may take a few minutes of work to complete. |
|
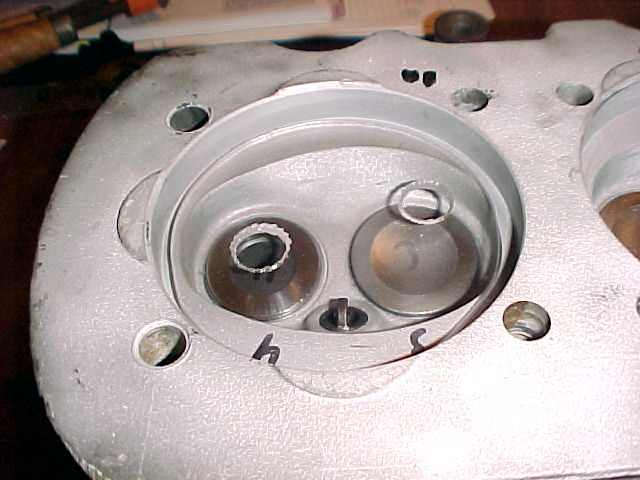
| Once you are happy with your lapping, remove and clean the valves and seats well. You will need to use a damp rag to help remove all the grit. Rub your finger over the surfaces to insure all is clean and smooth. The lapping compound comes in coarse and fine, you may need to use both to get a good seal, mine only needed the fine to seal up. You can test your seal as you go. The weight of the valve should be enough to seal it, no need to put the springs back on for this test. Just be sure to clean before you test so the grit will not hold the valve up off the seat. If your valve still leaks repeat your steps again. Now, let's measure the combustion chambers. |
 |
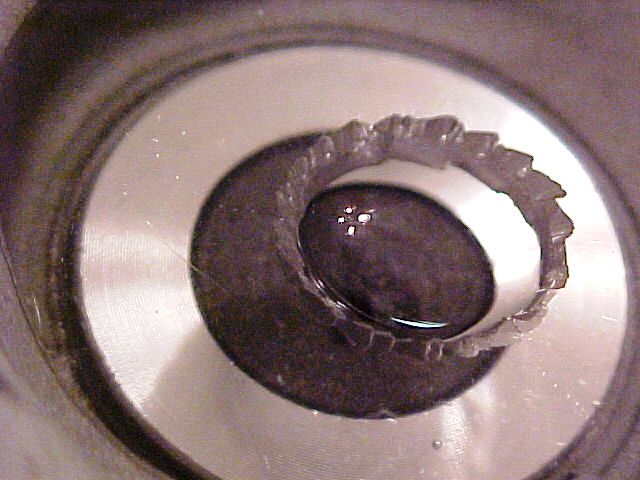
| This pic shows the combustion chamber covered by a piece of lexan with two holes drilled in it. The holes allow you to add your measuring liquid and let air escape, plus, by it being clear, you can see any air bubbles that need to be removed. If you need something to cover your chamber, you can use an old CD with the top film removed so as to only leave the clear plastic part and then size it to fit into the cylinder hole. You may want to put a very thin coat of petroleum jelly around the very edge of the cover to seal it to the head. This keeps your measuring liquid from seeping out once full and throwing your measurement off. |
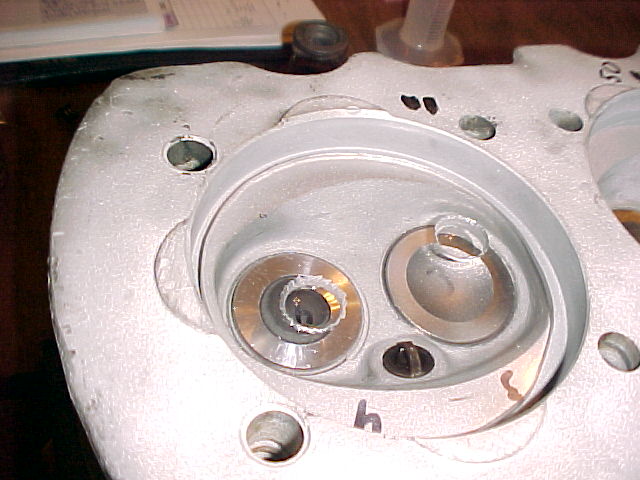 |
| Here I have filled the chamber with water and a couple drops of dish detergent. I did not tint the water this time as I forgot. If you look close at the holes in the cover, you can see the reflection of our dining room light hanging from the ceiling. Looks like a small cross with arrows at the end of each leg. Anyway, as you can see there are no bubbles under the cover. This is what you want to see. Do not fill the chamber all the way to the top of the cover holes, you want to stop filling when the liquid fills the chamber, there are no air bubbles visible and the liquid is just level with the bottom of the fill holes. |
 |
| This shows a little better where you need to fill too, just to the very bottom of the hole. The dish soap helps let the water lay flat as it decrease the surface tension of the water. |
 |
| There you have it, how to lap valves and CC your heads. My chamber came out to be 50cc each. Now on to deck height measuring. With the deck height number and the chamber size, we can then figure the compression ration and decide if we need spacers to obtain the desired CR of 7.4:1 give or take a little. |