Control Arm Removal for a Early 1968 Type 1
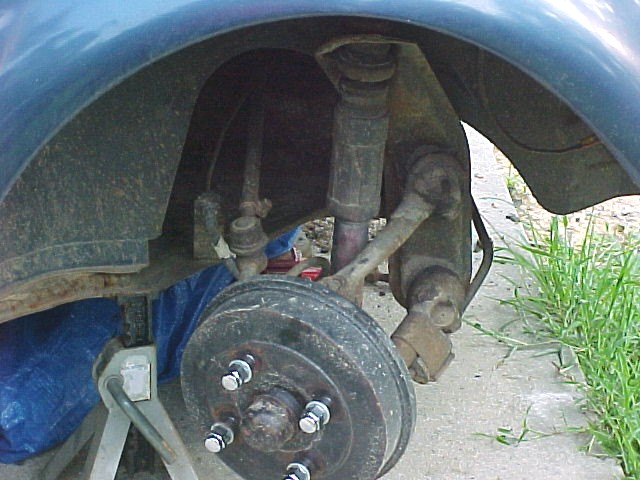
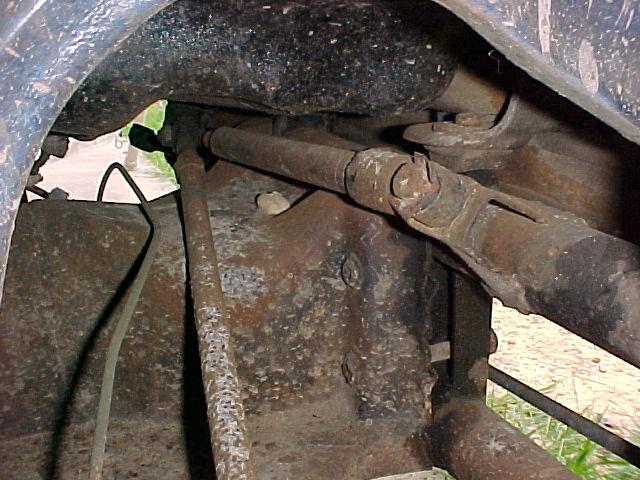
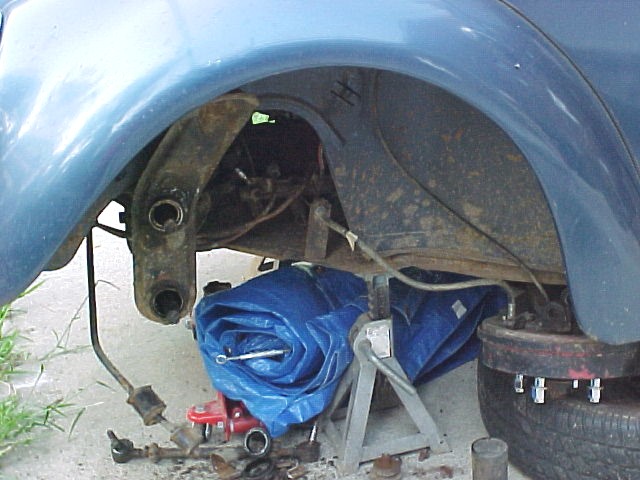
Here is the starting point. Make sure that you have secured the car with chocks and jack stands. Place your tires under the car, just rear of where you are going to be working, so if it does fall it will not fall flat on the ground. At least this way it will not completely crush your legs if it does fall.
Tools used: 19mm wrench, 19mm socket, 17mm socket, pickle fork, big hammer, air hammer, air ratchet, allen wrench, pliers, vice grips, putty knife and an oscillating fan!
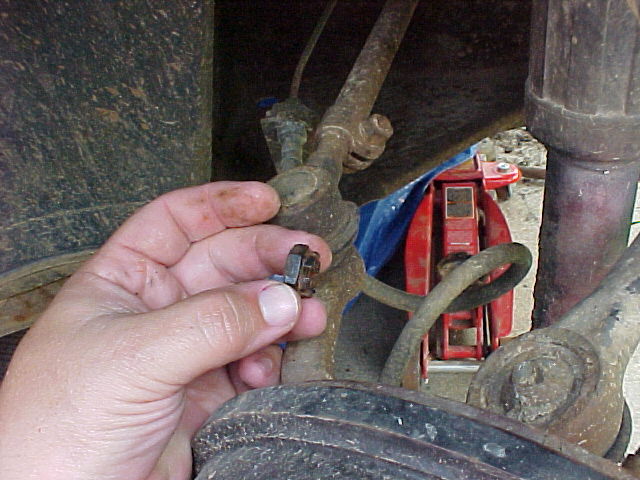
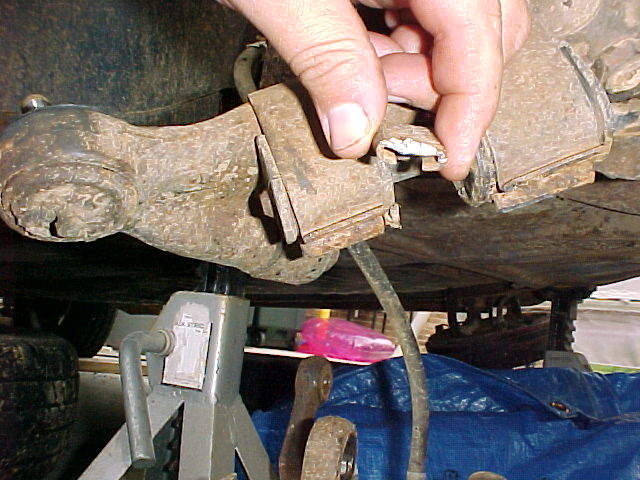
I started with the tie rod. With the tie rod removed, you can move the wheel around to get to the ball joints easier. Shown in my hand it the castle nut that holds the tie rod in place. It will (should) have a cotter pin that will need to be removed first. The nut is a 19mm.
Next, I used the pickle fork to free the tie rod end. Not a lot of whacking required. Repeat for other end.
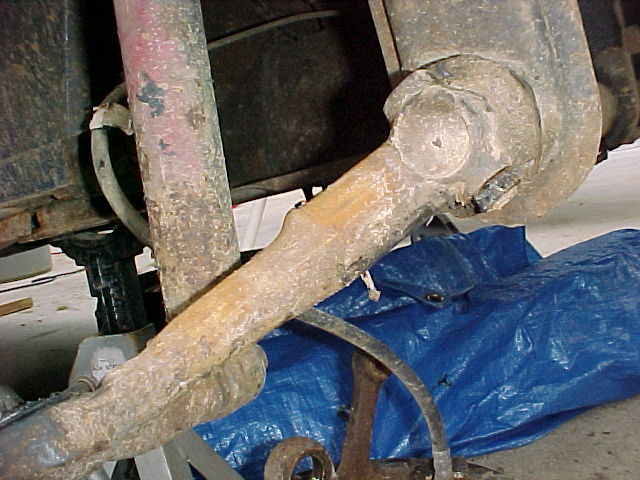
Free Free Free. And no injuries!! I would say this little guy gave its all years ago. Plain Dangerous. The rubber boot is gone.
Here is the steering damper, this is easy to reach and is removed with a 19mm socket.
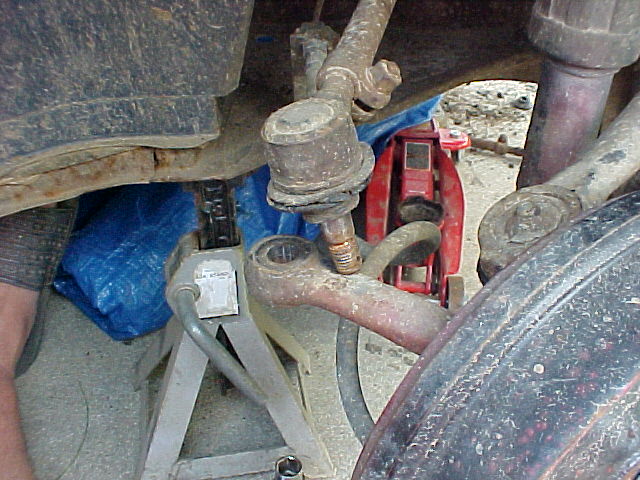
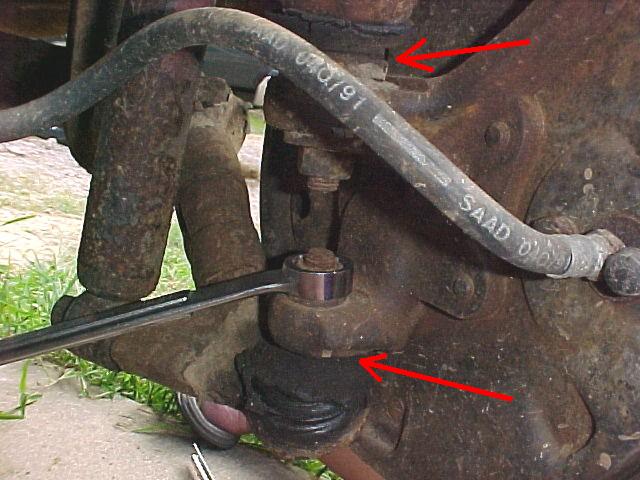
Now for the Ball joints. These are 19mm also and with a few tugs came free. Once the nuts are loose, I used the pickle fork placed where the red arrows are pointing and got both loose, but still in their holes. The control arm and the shock will hold the ball joints in place. To remove the ball joints, just put a jack under the hub and jack up till the lower ball joint comes free. Rotate the hub clear of the ball joint stud and lower the jack till the top ball joint clears. You can now put the hub on the ground under the car out of the way.
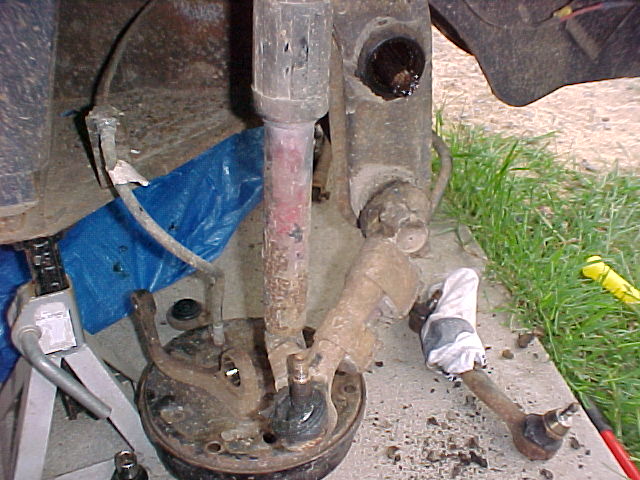
Here we see a very nasty shock and what is left of the lower ball joint still attached to the axle beam. In the lower right you can see the other control arm and the ball joint. The ball joint stud still has the camber adjuster on it. This will need to be press off. The other side of the car came off with a loud bang in the press. Scared the !@#$ out of us!!!
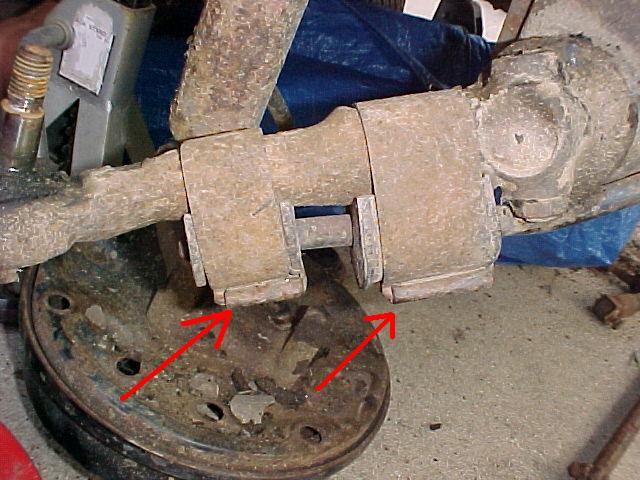
Now we need to remove the sway bar. It comes off by removing the tabs on the bottom of the clamps. ( See Arrows)
I use my air hammer to persuade the clips off. (WEAR YOUR Safety glasses!!) It looked like it was raining rust while these things were being beat on. If you set the hammer on low and start increasing the air flow, you can get it set so that it does not mangle the clips. I mutilated the other side. OOPS!

There, now that was easy!! Still no injuries.
See ya!!! With the clips gone, you can just pry the clips back enough to clear the rubber grommits.
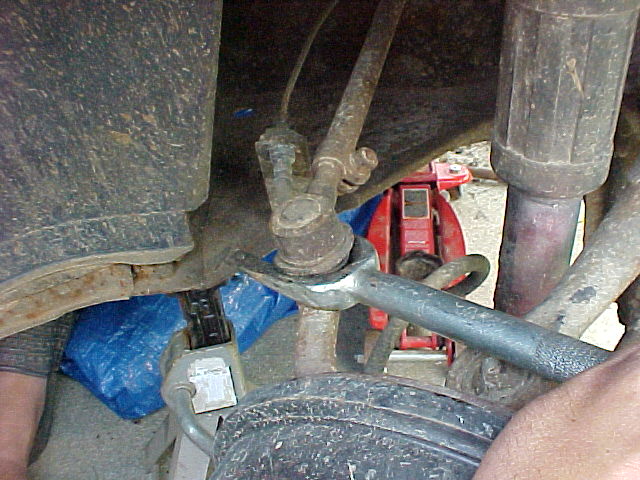
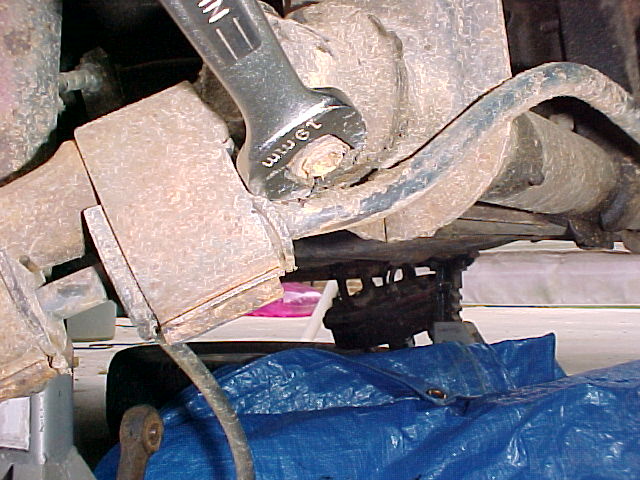
As you can see in the pic, this nut is a 19mm. Just loosen it and then use the correct size allen wrench to free up the bolt that holds the control arm to the leaf springs.
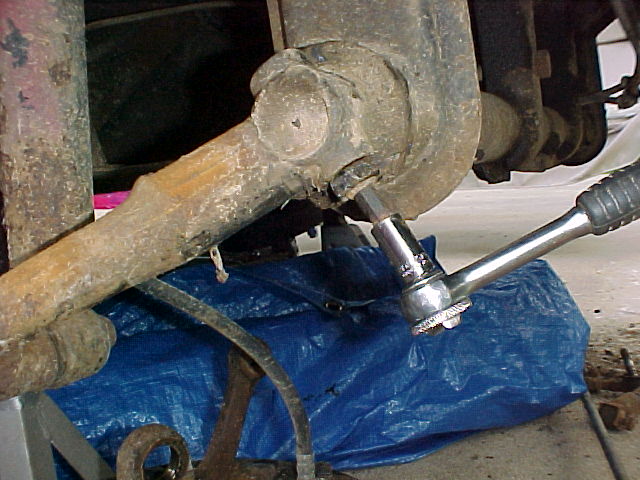
Loosen it up, but don't take it all the way out yet. Next we work on the shock!
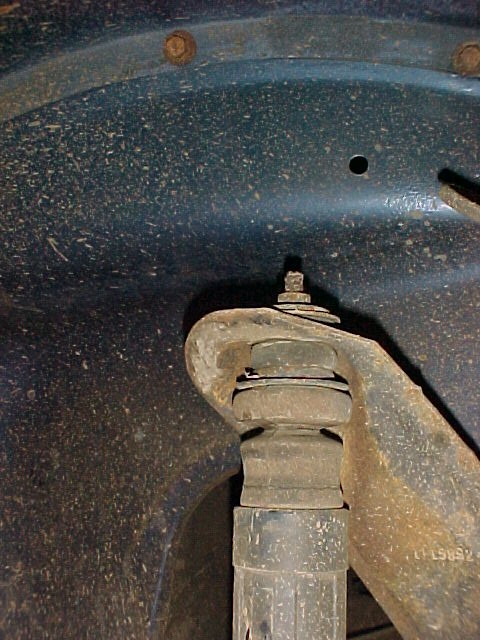
This was about the most difficult part. After years of being exposed it was pretty eaten up with rust. No, that is not the resolution of the camera, there is just no threads left on the bolt at the top of the shock. Bummer. Time for some Kroil Oil!! Use a 17mm and the vice grips to get the top apart. I had to cut the big rubber bumper apart to get this off. The shock arm would just turn with the nut. A good grip with the vice grips and hard tugs on the nut and we were in business.
The bottom of the shock looked bad, but was real easy to remove. A couple hits from the air ratchet, 17mm socket and all was well. With the top loose and the bottom nut removed the shock should slide off the bolt with a little effort. Now you can remove the control arm as well.
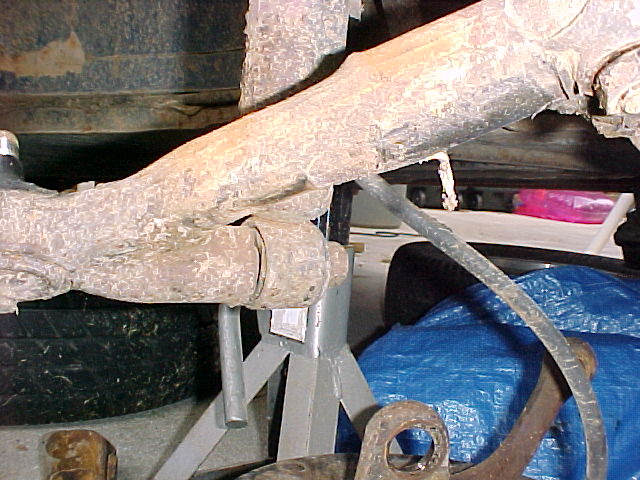
Thar she blows!!!! Here is where the leaf springs live. Lots of sticky goooey grease. But the roller bearing look good. Not sure yet if I am going to yank them and replace with the urethane bushings I bought or just clean, grease and reuse.
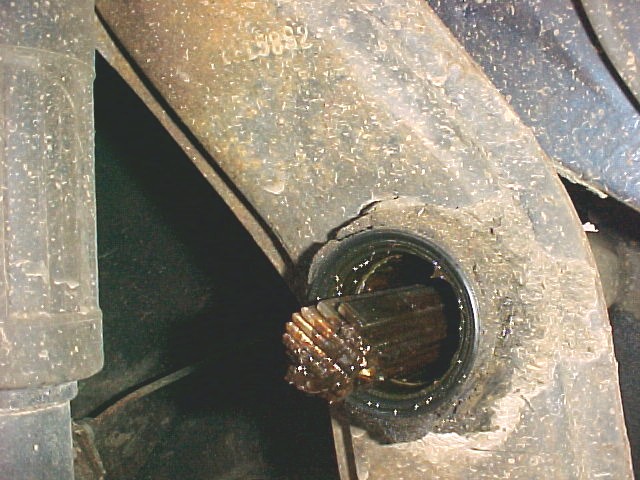
An empty hole. The next step is the axle beam its self. Then, ADJUSTERS!!!!! (Sinister Laughter in the back ground)
Now we need to drop the beam.